Showing posts with label beans. Show all posts

Monday, April 25, 2011

Hummus!!!


We needed some munchies between Easter brunch and Easter dinner so I thought I'd whip up some hummus. Did you know my mother-in-law introduced me to hummus 22 years ago? I had never had such a thing before! She introduced me to artichokes too! Oh and fennel and all sorts of interesting things.

So it's only appropriate for me to make hummus for her!

Did you know they're charging $5 for a tub of hummus these days? Goodness gracious! Make your own!


Do you have to have a food processor to make hummus? NO! You could use a blender, a hand mixer, mortar & pestle, or even a bowl and fork. You'll just get a chunkier more "rustic" hummus.


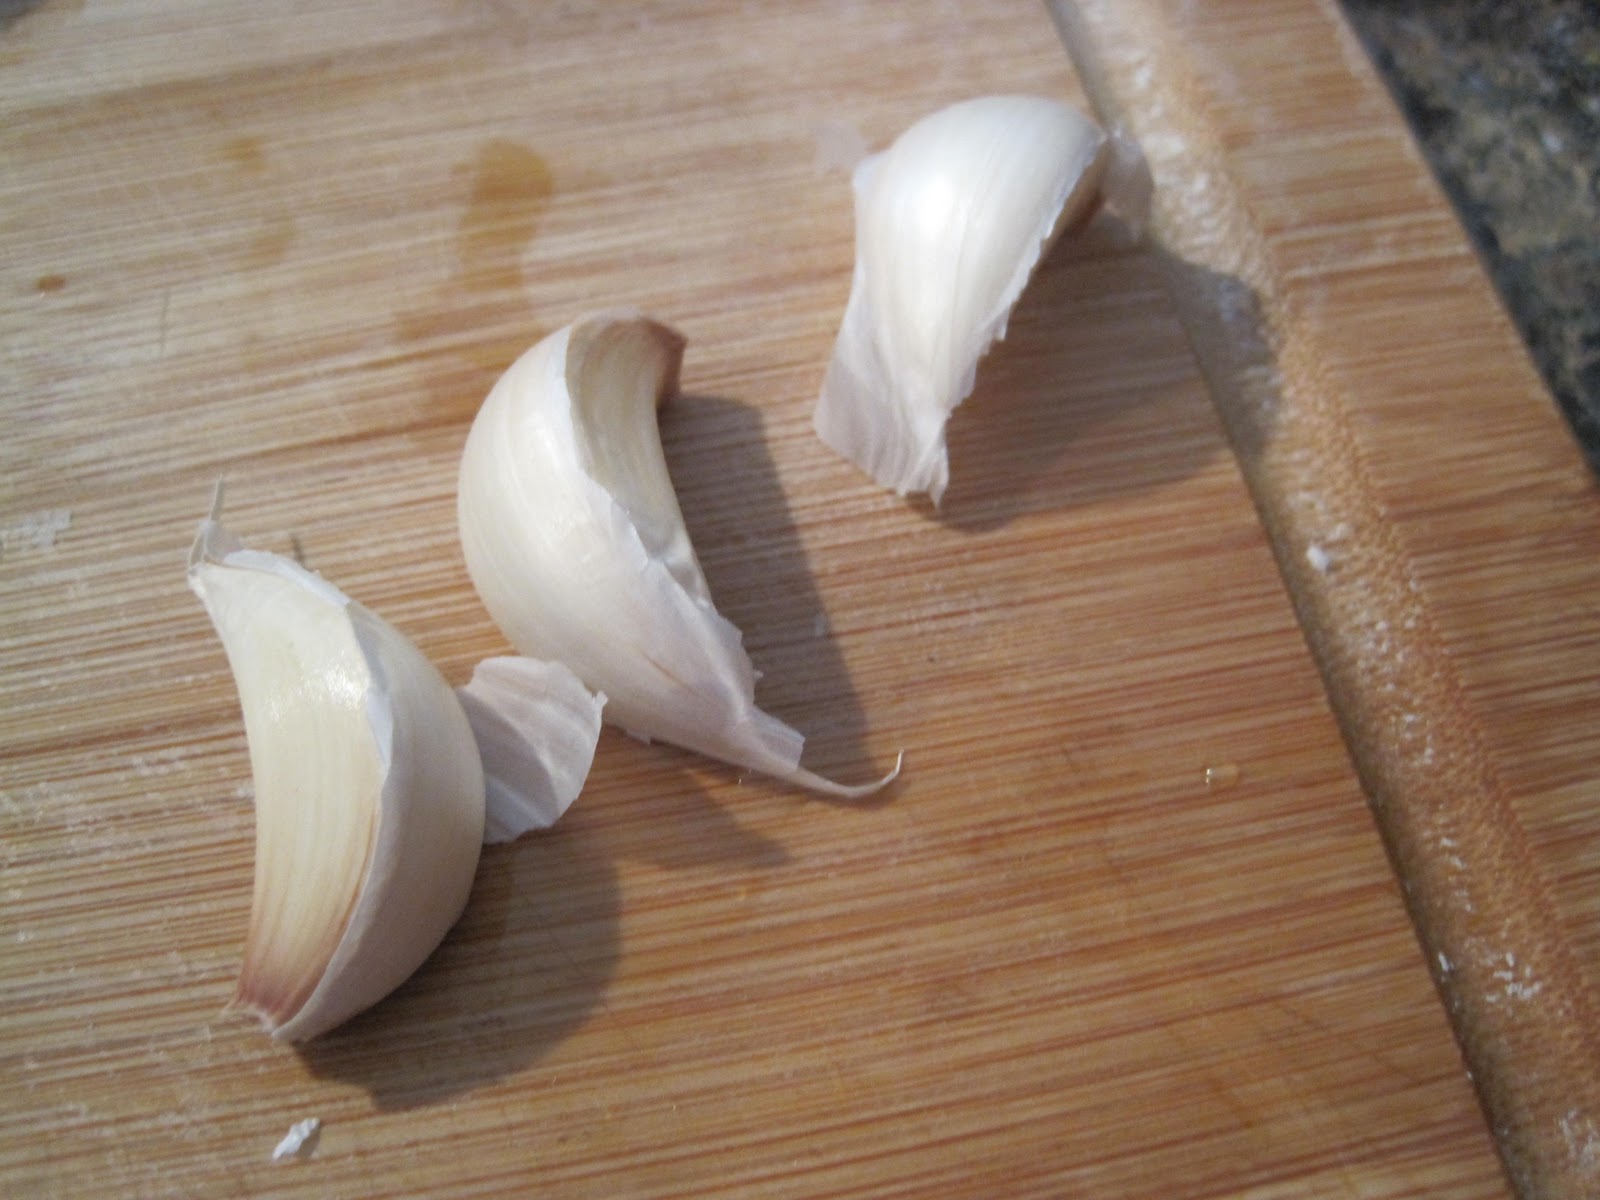
I like to start with garlic. Garlic is always a good place to start!


Mince it up! The tinier you get it the more garlic you'll taste.


Let's throw in some lemon! It'll brighten things up and it helps the garlic give up it's goodness.


Now for some salt. The salt will help break down the garlic too.


Scrape everything down to the bottom so they're mingling. Now we'll leave them to get friendly a few minutes. Let's talk seasoning.


I love the taste of cumin in my hummus and I really love it when there is a few whole cumin seeds in there. It's like little nuggets of bonus flavor in the dip.


Cumin likes heat. Since our hummus doesn't get cooked I'm going to heat up my cumin to get it's flavor a little brightened. I can use less cumin and get more flavor.


Heat it over some high heat until you can smell it!


I went ahead and threw a little powdered cumin in after I turned the heat off. The powdered cumin likes a little heat too and it'll distribute through the hummus quicker. (I want to eat the hummus today after all!) Take the cumin off the heat. If you're using a nice heavy pan such as the cast iron I'm using you may want to put it in a bowl to stop it's heating.


Open up a can of chick peas and rinse them off with some nice cold water.


Throw them all in with the garlic and lemon! We're practically there!


Give it a mix! It'll just break up the beans a little. Now hummus is supposed to have this gorgeous sesame paste in it called tahini. It's wonderfully tasty stuff but I only have one use for it. I like more "multifunctional" ingredients around the house so I make a few . . . substitutions . . . shh, don't tell!


A little peanut butter for it's nutty creaminess.


and a little sesame oil. This is roasted sesame seed oil and it is fantastic. I bet your grocery store carries it! It'd be right near the soy sauce in the Asian section. I use it in Asian soups, stir-fry, and in dipping sauces. The kids even put a few drops in their ramen noodles! Very multifunctional.


Throw them in a blend them up.


Now for a little water to help things get wetter and more pureed.


We're getting there. I like my hummus to be fluffy and light.


Olive oil will fix that!


Now I like a little "kick" in my hummus so I added a tad touch of this too. It's smoky and hot. Some canned chipotle would be delicious too. Sometimes I just throw in a bit of hot sauce.


Now give it a little taste and see if you need more salt. Not all canned chickpeas or peanut butters are created the same. You can even add more lemon if you like. If the lemon is too strong for you then sit it in the refrigerator for awhile and it'll tone down. Fresh lemon mellows with time.


Oh, oh, oh! It's so light and fluffy and creamy! Garlicky, nutty, and spicy. Just a touch of tangy lemon. Perfect for parties or picnics! Serve it on pita, pita chips, crackers, or raw vegetables. Happy munching!

Hummus

1 15 oz. can of garbanzo beans (chick peas), drained and rinsed
1/4 cup creamy peanut butter
juice of 1 lemon*
3 cloves of garlic, minced
1/4 cup water
2 Tbsp sesame oil
2 Tbsp olive oil
1/2 tsp cumin seed, toasted**
1/2 tsp ground cumin
1/2 tsp salt
1/4 tsp chipotle powder (optional)

Mix salt, lemon juice, and garlic together and set aside for 1-5 minutes. Toast cumin seed.**

Blend all ingredients together using food processor, blender, hand mixer or even by beating and smashing with a fork in a large bowl.

*If you don't like a strong acidic lemon flavor allow the juice to sit out for an hour and it'll mellow. If you love strong acidic lemon in your hummus only add half the juice at the beginning and add the other half immediately before serving.

**If you want to skip the toasting of the seed just leave it out and add a few extra sprinkles of ground cumin.

Friday, March 11, 2011

Pintos!


Mmmm, PINTOS!

Wait that's not the pinto I'm talking about!


Here we go!

Oh wait . . . no . . . not that one either!


There they are!

Were you confused?

Just wanted to let you walk in my shoes for a moment!

This is by FAR! My easiest recipe EVER!

I make these everytime I serve Mexican food. My friends say "Oh my! What is in these beans?" Well I've gotta tell you there's almost nothing in these beans! I always try to make too many because they freeze fabulous!

Are you ready for deliciousness?

Can you HANDLE the deliciousness?


Take two pounds of plain dried pinto beans.


Pour them into a collander looking for any weird things. Beans are a "natural agricultural product" you know! Says so right on the package. What they mean is beans grow around DIRT and BUGS and STONES. They highly recommend you examine them carefully. I agree!

I "picked" the beans with my father from the time I was old enough to sit on the counter and look through them! We never found anything in them other than a few genetic abnormalities. Maybe the odd dried kidney bean might get into the great northerns. You know, nothing that'd hurt you! Well as a young woman, off on my own, one day I decided I wasn't going to mess around with this silly bean "picking" business! There were floors to vacuum, shelves to dust, laundry to fold! I had no time for bean picking! As I was carelessly rinsing my beans, I was looking at those floors, shelves, and laundry and thinking of my father.

Had Dad ever told me wrong?

No.
.
I could hear him in my head "Use the FORCE Luke!"
.
Actually it was more like "You'd BETTER pick those beans GIRL!"
.
So rather than vacuum, dust, or fold I spent a minute picking through the beans.
.
Of course, there was a stone that day!
.
My first stone! After 17 years!
.
So, knowing I had saved my little family I happily ignored the vacuum, the dust, and the laundry! It became a pattern for me . . .

BACK TO THE BEANS!


Just a few freaks in the bunch today. I pick them out because it gives me purpose. We all need purpose!


Give them a good washing under some nice cold tap water.


Into a crockpot they go! Crockpots cook beans so gently!


Add 8 cups of water.


Slice up about 4 cloves of peeled garlic! I like to see the little pieces of garlic floating amongst the beans.


You'll need a beautiful, fragrant bay leaf! These ones are wonderfully strong. I used to suck on the bay leaves my father pulled out of his soups and stews. These will zing your tongue if you try to suck on them even after hours in the pot. Can you grow Laurel Bay trees in Missouri? Anyhow, throw the bay leaf in the pot.


Two teaspoons of wonderful oregano goes in too!

Now some of you may be wondering what cuisine I'm making here! Trust me the oregano and bay are beautiful in here. They compliment the beans in wonderful ways. There's quite a bit of oregano used in Mexican cooking. There's is even a different type of oregano called "mexican" oregano. I get the turkish though because it works well in Mexican, Italian, and of course Greek. Can you shout OOMPA? Evidently it HAS to be shouted.


One big old tablespoon of salt is needed too! I started with a tablespoon today and actually ended up using more!

If the thought of that much salt scares you try this experiment. Before you dump the 8 cups of water into the pot, mix in a tablespoon of salt. Taste it. Your beans are never going to be as salty as this liquid is. In fact that salt water has to season the beans too. Now if you like a bunch of "condiments" in your beans then hold back a little. We all have different salt tolerances so go with your gut. Salt is cheap. There's no high blood pressure in my family so I use it liberally! You want to end up with a product as salty as a nice chicken broth would be.


Now put a lid on it. I actually found my pot could tolerate a couple of more cups of water so I added a little more. There is two pounds of beans to hydrate there!


Throw the lid on it and let it cook!

I cooked mine on high and they boiled over. But they were done in under 4 hours! I've quite often started these before bedtime and cooked them on low all night. Do you want beans for breakfast? You could just as easily put them on low and cook them while you were at work. They'd get done.


Oh look at them! Since mine boiled over I had to add a little water back to them. No problemo!

Yes they're done! It's the end of the recipe! I know, I know, you've come to expect at least 10 ingredients and 15 steps from me! You don't even have to stir this stuff!


The beans are super creamy and the skins seem to meld with them. I think it's from cooking them in salted water. It changes them. The broth is herbaceous, garlicky and has a pleasant saltiness to it. It also has body to it. It slides around the tongue a little and feels rich.

How delicious is this stuff? I spilt a little bit on my shirt and the cat came up and sniffed it. Then he licked it. Then he licked it again. Then he started to chew on my shirt! What can I say? He's got gourmet taste!

This starts out as a soup but there's a dozen uses for it. You can put the beans inside tacos or burritos. Put them on nachos. They're a lovely side. You can puree them with the broth and make a nice bean dip. We like them with a little sour cream and fresh cilantro on them! A squeeze of lime would be fine too. I always make a ton and freeze the extras in quart containers. We're ready for taco night anytime!

Pinto soup

2 lbs dried pinto beans, washed and picked
8-10 cups water
2 tsp dried oregano
1 bay leaf
1 Tbsp salt

Dump everything in the crockpot and cook on low for 6-8 hours.

Garnish with any of the following:

cilantro leaves
sour cream
plain yogurt
sliced green onion
shredded cheese
salsa
chopped tomatoes
lime wedges
black olives
hot sauce
sliced jalapeno pickles
tortilla strips

Monday, February 28, 2011

Black Bean Salad


I went out to the local Mexican restaurant last night and had some of their delicious beans and rice. It reminded me of how much I enjoy a good black bean! I feel incredibly virtuous when I eat beans. They're low in fat, rich in protein, full of complex carbohydrates, and there's lots of lovely fiber! Anything with that much natural color in it has got to be good for you! They're the perfect little package of goodness!

I decided to whip up a little black bean salad to go with our carnitas tonight! 

We want to make up a little dressing for our salad first.


I decided a little heat was in order. I had no fresh chilies around so I relied on the good old standard red pepper flakes. Just a little to wake up the taste buds.


You've gotta have a little acid in a dressing. I am staying authentic to Latin cuisine and using a lime.


I squoze the heck out of 1/4 of a lime. Squoze is a fancy technical cooking term I use often . . .


Garlic? Yes, thank you, I will!


You want it minced really finely. Use a press or mince it up with a knife. You could even grate it on a Microplane!


Now for a little salt. Just a generous sprinkling on over the garlic. You can always add a little more later.


Now I take a fork and stir it all up together. If you minced your garlic with a knife the salt will actually help smoosh it a little. Smooshing garlic in salt and acid amplifies it's flavor! Who doesn't want their garlic amplified? (Smoosh is another one of my cooking terms, I hope you're not turned off by all these technical words . . .)


Now for a little olive oil. Use the extra virgin if you've got it! Its fruitiness can actually come through in a nice cold salad like this. 


I want to pump up the Latin flavor so a little cumin is in order. I'm going to use the ground today.


Oh it smells so good! Sort of like a good pot of chili!


A little ground up coriander seed!

Coriander seed is what grows into cilantro! It's flavor is sort of citrusy. All I know is that if you put it in meat it tastes good! Yummy! I got mine at the Indian food store. Indian cuisine uses a lot of the same spices as Latin ones! So if you're ready to cook up some Mexican food you could also whip up an Indian dish too.


Dump it in and mix it all up! Your dressing is DONE. Well, except, you could stick your finger in it and see if it's salty enough for you. My canned beans already have some salt in them so I'm holding back a little.


Now for some beans. I like to use canned beans for salads. They are tender but retain their shape. Shape is important in a salad. We're not serving refried beans here!


Rinse them off. I'm using two cans of beans today because I want leftovers for lunch. Bean salad is the lunch of champions!


After the beans are drained and rinsed you put them in the bowl with the dressing.

Now a good salad has all the flavors in it. We've got sour from the lime juice, bitter from the garlic and spices, umami from the beans. We added some preliminary salt to the dressing and it's part of the beans processing. What are we missing? A touch of sweetness!


This beautiful red pepper will provide color and sweetness! How about some non-traditional sweetness?


A little Spanish onion has sweetness to me! Sweet and heat at the same time. A sweet Vidalia onion would be a lovely addition here too.


Now for a little chopped cilantro to round things out! I like it's color and it's herbaceous aroma!


Add all the happy players to the bowl and stir them up! You want to get the dressing all over everything.


Now that's a party in a bowl! Give it a taste and add more salt or lime juice as necessary. You can throw it on the table right now or put it in the refrigerator and let the flavors mingle. When I refrigerate it I taste it every 30 minutes or so just to check on it. You know . . . to make sure it's still delicious . . . maybe I should of made three cans?


Oh Black Bean Salad! How do I love thee? Let me count the ways!

Your beans are soft and creamy!
Your dressing is silky and flavorful!
Your lime is sour and refreshing!
Your vegetables are crisp and sweet!

It's a side dish! It's a lunch! It's a salsa for chips!  It's multifunctional! Whatever you do, make this for people you love! It's good for them.

Black Bean Salad

For the dressing
juice from 1/4 of a lime
3 cloves garlic, minced
1/4 tsp red pepper flakes
1/2 tsp ground cumin
1/2 tsp ground coriander
1/4 tsp salt
1 Tbsp extra virgin olive oil

For the salad
2 cans black beans
1/2 cup diced red bell pepper
1/2 cup diced red onion
1/3 cup chopped cilantro leaves

Stir together the dressing ingredients in the bottom of the serving bowl. Add salad component and toss gently until well mixed. Chill until serving time.